Internationalization
I. Overview
Through ThingsPanel's support for internationalization (i18n), you can easily translate the ThingsPanel platform. Currently, two languages are supported: Chinese and English. If these two languages do not meet your needs, you can customize other languages.
II. Development Steps
1. Create New Language File
Language files are located in the src\locales folder.
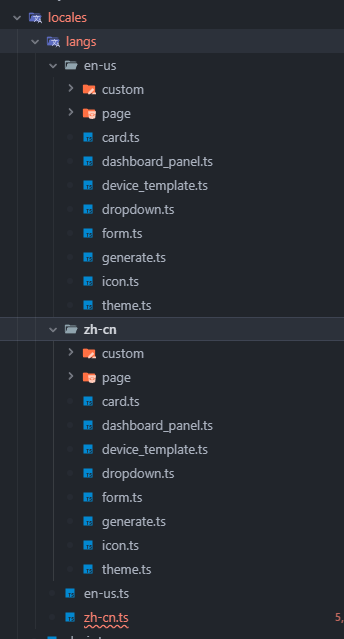
ch.js is the Chinese language file, en.js is the English language file. Please customize for other languages.
The format of the language file is as follows:
const local: App.I18n.Schema = {
  custom,
  default: '',
  title: 'ThingsPanel',
  system: {
    title: 'System Name: {name}',
    screen: 'Visualization Dashboard'
  }

  }
All keys should be uppercase, with multiple words separated by underscores. Use TEXT1, TEXT2... for long text. Keys for reused components can be placed in COMMON.
2. Use Language File
If you only translate Chinese and English, you can skip this section.
Open the src\locales\locale.ts file and add your defined language to languages.
import zhCN from './langs/zh-cn'
import enUS from './langs/en-us'

const locales: Record<App.I18n.LangType, App.I18n.Schema> = {
  'zh-CN': zhCN,
  'en-US': enUS
}

export default locales
Where lang is the filename, name is the language name displayed in the dropdown list in the project, and flag is the language icon.
Then you can translate text on the page.
3. Translate Pages
- Template
Format: {{ $t(NAME)}}  ```
  Example:
```html
<!-- Slot Method -->
<span class="font-weight-bolder text-dark">
  {{ $t("HOME.QUICK_GUIDE") }}
</span>
<!-- Prop Method -->
<el-table-column :label="$t('COMMON.NO')" type="index" width="260"></el-table-column>
- JS
Format:
this.$t(NAME);Example:
// vue 2.0
this.$t("PLUGIN.DEVICE_INFO");

// vue 3.0
const self = getCurrentInstance().proxy;
self.$t("PLUGIN.DEVICE_INFO");